How to use Disk Quota in Windows 10 Pro
On a shared desktop it is very easy to fill the entire hard disk space with all types of files, but a hard disk supports storage limits for each user, so a single user can be limited and cannot fill the entire disk if a certain procedure is followed correctly.
Windows 10 still retains Disk Quota
Disk quotas can be used to monitor and control hard disk space usage for each user. This feature exists in Windows 7, 8 and Windows 10 still retains it. Using Disk Quota is probably easier than you think. However, there are a few aspects you need to keep in mind before enabling and using this feature.
The basic steps
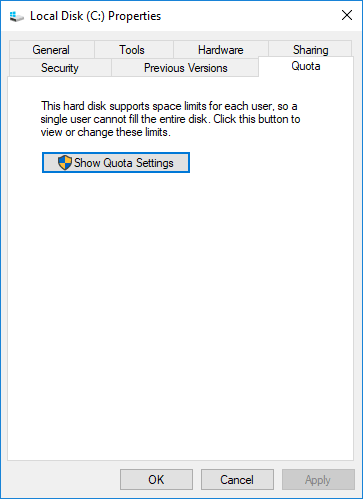
1. Right-click on the partition where you want to create disk quota and after that, click Properties.
2. Navigate to Quota tab and click the button – Show Quota Settings. This is where you can create and adjust disk quotas.
3. Select Enable quota management box to adjust further.
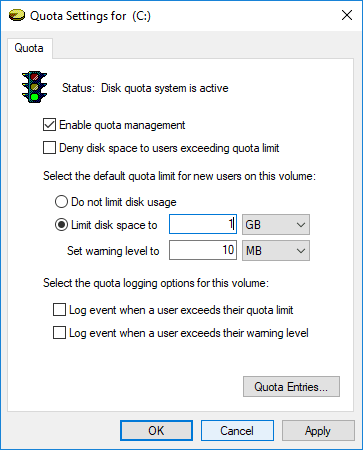
4. You can set a default disk space and a warning level – I’ve specified 1GB disk space limit and set the warning level to 10MB. Click Apply.
5. Now, you can check the existing warnings and reached limits, as per your specifications, by clicking the Quota Entries button.
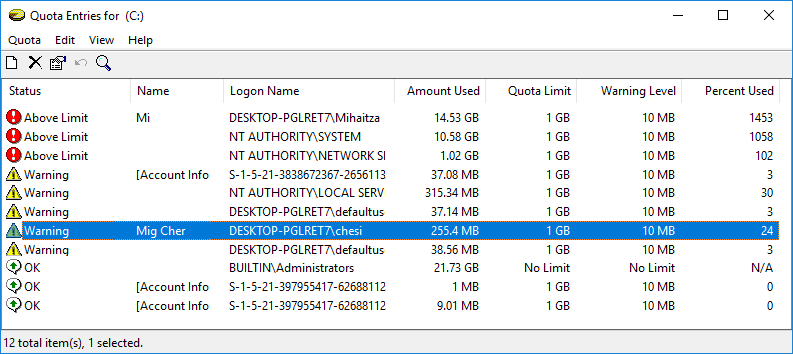
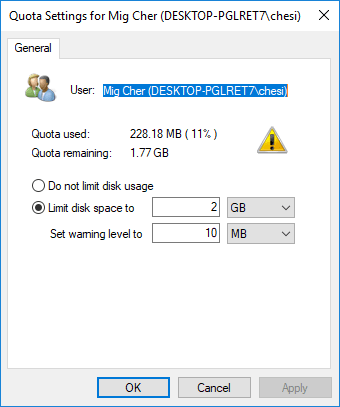
6. In case you double click each one of the listed items you will open a small window from where you can see the quota used, quota remaining and you will be able to adjust the limits for the chosen user.
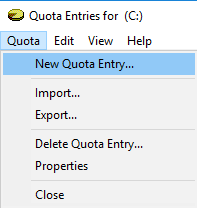
7. IF you cannot find all the existing users displayed on the Quota Entries window, you also have the possibility to add them manually by going to Quota > New Quota Entry.
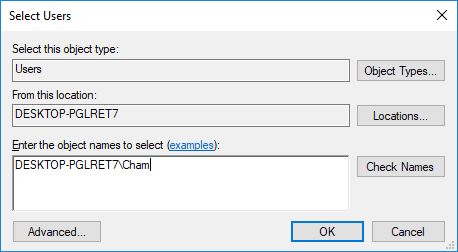
8. Next, you will be able to select the user you want to set storage limit for and click OK:
9. In the next window you can select the radio button Limit disk space to, enter the storage limit for the chosen user, the warning level and hit OK to save the changes.
Move, Delete Files or Take Ownership
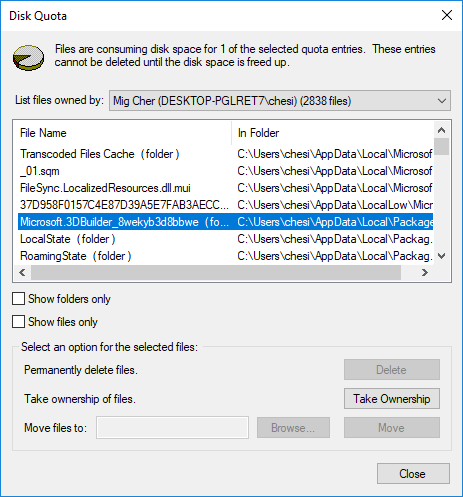
With Disk Quota feature, the user has the option to move, delete or take ownership of certain files. As an IT consultant, I recommend that you first move the other user’s data to another folder, partition or device to prevent data loss. So, right click on any item listed within the Quota Entries window and click Delete.

Once backup is done, you can safely remove the per-user files. On the other hand, you can always take ownership of files and folders by clicking the Take Ownership button.
Don’t forget to check with your IT support provider to find out if Disk Quota is indeed an opportunity for you.
Finally, let us know your thoughts and experiences about using the above method to set hard disk user limits in Windows 10 Pro.


Hi, just wanted to tell you, I liked this article. It was practical.
Keep on posting!
Thank you! I’m so glad you like it.